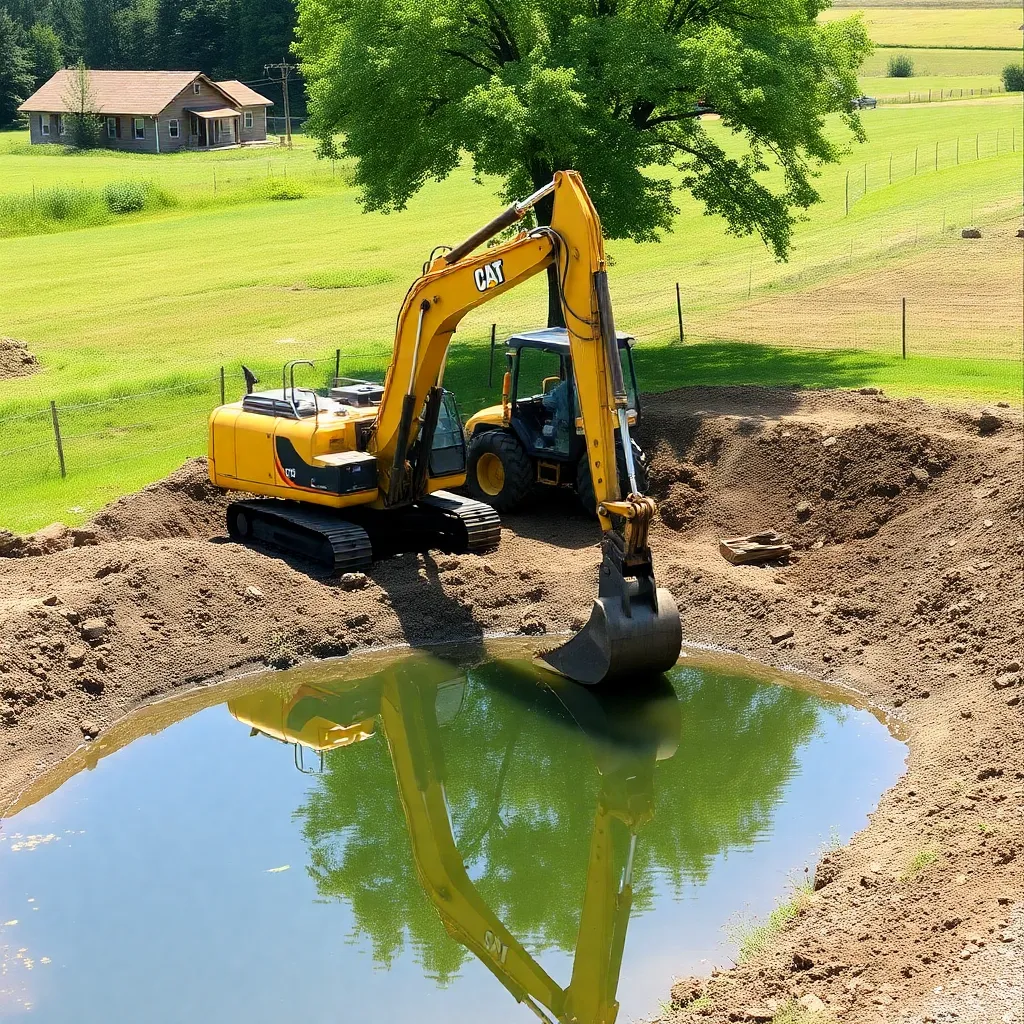

Creating a pond on your property can be a rewarding project that enhances your landscape, supports local wildlife, and provides a space for recreation and relaxation. However, the excavation process can seem daunting if you’re unfamiliar with the techniques involved. Understanding what to expect during pond excavation will help you prepare for the project and ensure a successful outcome. In this article, we’ll explore various pond excavation techniques and what you can anticipate throughout the process.
Before any excavation begins, it’s essential to define the purpose of your pond. Are you looking to create a fishing spot, a wildlife habitat, or a decorative feature? Your goals will influence the design and excavation techniques used.
Conduct a thorough assessment of the proposed site. Consider factors such as soil type, drainage patterns, and proximity to water sources. This assessment will help determine the best excavation techniques and equipment needed for the project.
Before starting the excavation process, check with local authorities regarding permits and regulations. Some areas may have specific requirements for pond construction, especially if the pond will impact local ecosystems or water sources.
For smaller ponds, hand tools may be sufficient. Common tools include:
Shovels and Spades: Ideal for digging and shaping the pond.
Rakes: Useful for leveling the ground and removing debris.
Wheelbarrows: Helpful for transporting soil and materials.
For larger ponds, heavy machinery is often necessary. Common equipment includes:
Excavators: These machines are designed for digging and can efficiently remove large amounts of soil.
Backhoes: Versatile machines that can dig, lift, and move soil and materials.
Bulldozers: Useful for clearing the site and moving large quantities of earth.
If you don’t own the necessary equipment, consider renting from a local equipment rental company. Ensure you have the proper training or hire a professional operator to handle the machinery safely.
Clearing the Area: Begin by clearing the site of vegetation, rocks, and debris. This will provide a clean workspace for excavation.
Marking the Outline: Use stakes and string to mark the outline of the pond. This will help visualize the shape and size before digging begins.
Digging the Pond: Start excavating from the center and work outward. This technique allows for better control over the depth and shape of the pond.
Creating Shelves and Slopes: As you dig, create shelves and slopes along the edges of the pond. These features provide habitat for aquatic plants and fish and help prevent erosion.
Managing Soil and Sediment: Set aside the excavated soil for later use in landscaping around the pond or for creating berms. Proper management of soil and sediment is crucial for maintaining the pond's structure.
Varying Depths: Consider creating varying depths within the pond to support different aquatic life. Deeper areas can provide refuge for fish during hot weather, while shallower areas can support plant growth.
Gradual Slopes: Ensure that the slopes leading into the pond are gradual. This will help prevent erosion and provide easier access for wildlife.
If your soil is not suitable for retaining water, you may need to install a pond liner. Common types of liners include:
EPDM Rubber Liners: Durable and flexible, ideal for various pond shapes.
PVC Liners: Lightweight and easy to install, but less durable than EPDM.
Preformed Liners: Rigid liners that come in specific shapes and sizes.
Clean the Excavated Area: Ensure the bottom and sides of the excavation are free of sharp objects that could puncture the liner.
Lay the Liner: Carefully lay the liner in the excavated area, ensuring it fits snugly against the contours of the pond.
Add Backfill: Once the liner is in place, add backfill around the edges to secure it. This will help hold the liner in position and prevent it from shifting.
Trim Excess Liner: Trim any excess liner material, leaving enough to fold over the edges and secure it with rocks or soil.
Determine the best water source for filling your pond. This could be from a well, a nearby stream, or municipal water. Ensure that the water source is clean and free from contaminants that could harm aquatic life.
Gradual Filling: Fill the pond gradually to allow the liner to settle and adjust to the water pressure. This will help prevent any shifting or damage to the liner.
Monitoring Water Levels: Keep an eye on the water levels as the pond fills. This will help you identify any leaks or issues with the liner early on.
Once the pond is filled, consider landscaping the surrounding area. Plant native vegetation to create a natural buffer, which can help filter runoff and provide habitat for wildlife.
Introduce aquatic plants to your pond to enhance its ecosystem. Choose a variety of plants, including submerged, floating, and emergent species, to create a balanced environment.
Consider adding features such as rocks, logs, or fountains to enhance the aesthetic appeal of your pond and provide additional habitat for wildlife.
After excavation and installation, regular maintenance is essential to keep your pond healthy. This includes monitoring water quality, managing algae growth, and maintaining the surrounding landscape.
Be aware of seasonal changes that may affect your pond. In Michigan, for example, winter ice can impact the pond's ecosystem, so consider how to manage ice and snow accumulation.
Pond excavation is a significant undertaking that requires careful planning and execution. By understanding the techniques involved and what to expect during the process, you can create a beautiful and functional pond that enhances your property and supports local wildlife. With the right preparation, equipment, and maintenance, your pond can become a cherished feature of your landscape for years to come.